

Guide: Using Classes on the Teacher Portal
In this guide, we’ll be looking at Classes on the Teacher Portal. Classes are a handy way to group your learners based on set, form, ability level, needs, or whatever works best for you. You can create as many classes as you like, making it easy to manage learners and share collections with the right groups.
Heads up: The content your learners can access is still based on their assigned year/age group. So, for example, even if you’ve got advanced KS3 students, they won’t be able to view certain KS4 content. So, please keep that in mind when creating classes!
What do you need help with?
Creating new classes
Creating classes is quick and flexible, letting you group learners in a way that works best for you. Here’s how to set one up and start adding students.
1. To create a new class, head to the Classes view on the Teacher Portal and click the ‘Create New’ button in the top-right corner.
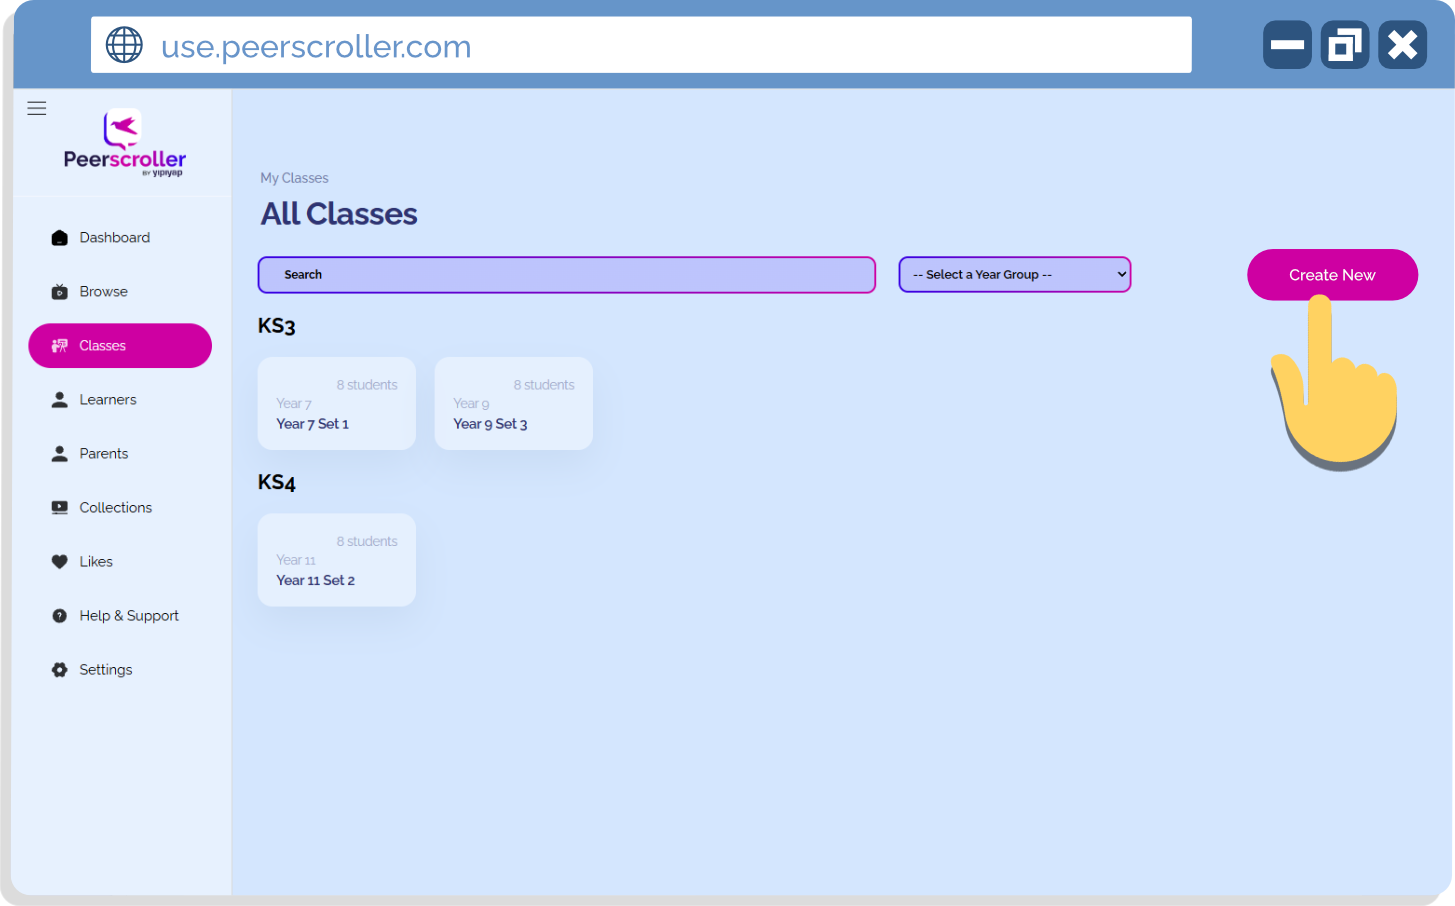
(Picture of classes dashboard and ‘Create New’ button)
2. You’ll be asked to give your class a name and a year group. You can create as many classes as you like and group your learners in whatever way works best for you!
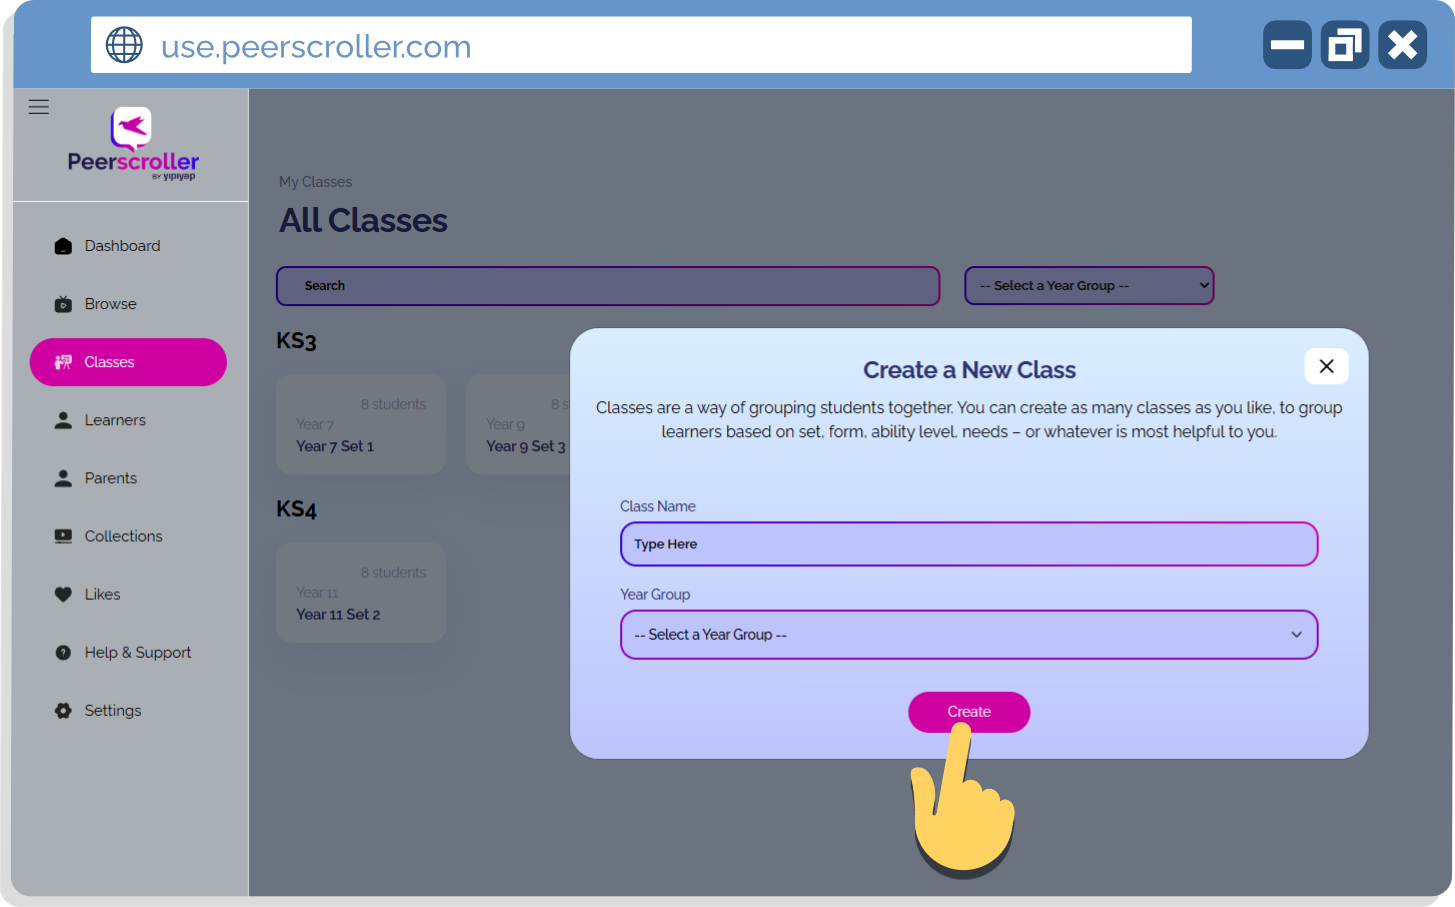
(Picture of ‘Create a New Class’ options)
3. Once you’ve created your class, it’s time to add learners. Click the ‘Add more’ button in the top-right corner of your screen.
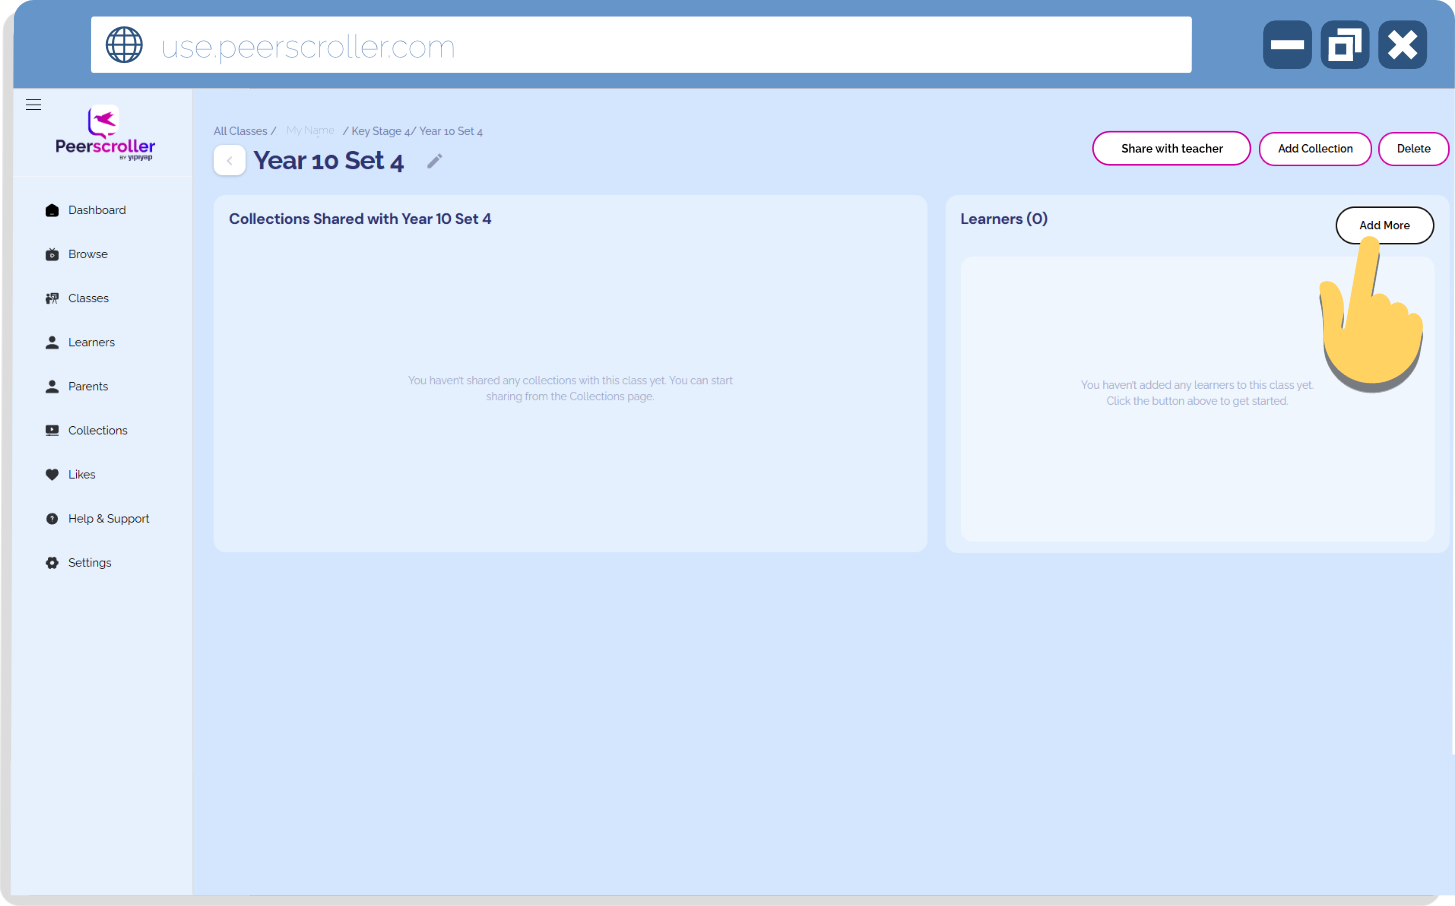
(Picture of ‘Add more learners’ button)
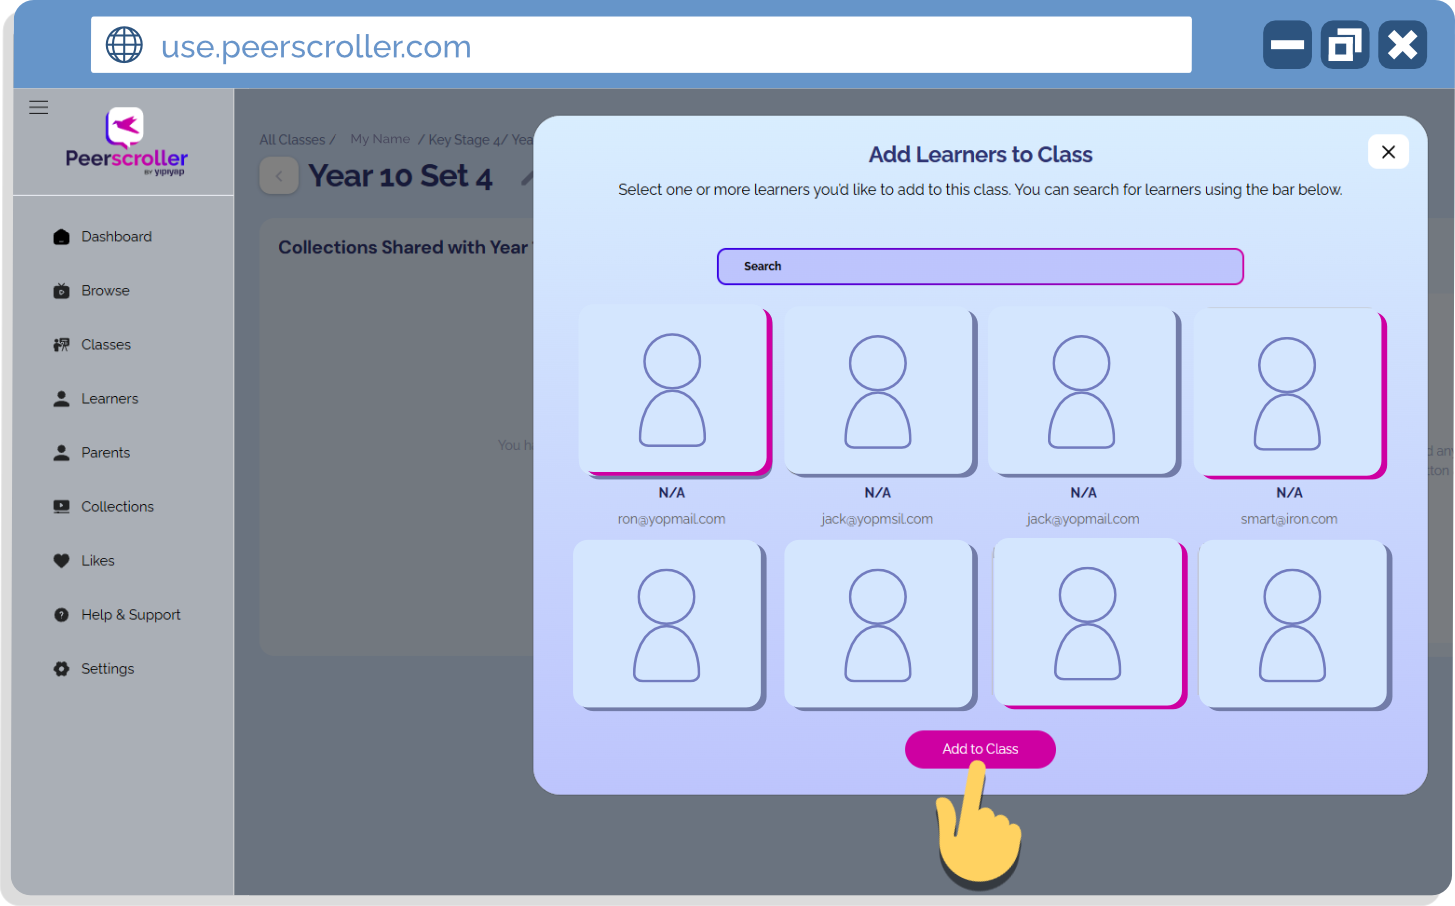
4. You’ll then see all the learners on your system. Simply scroll through or search for the learners you’d like to add. You can select multiple learners at once to save time.
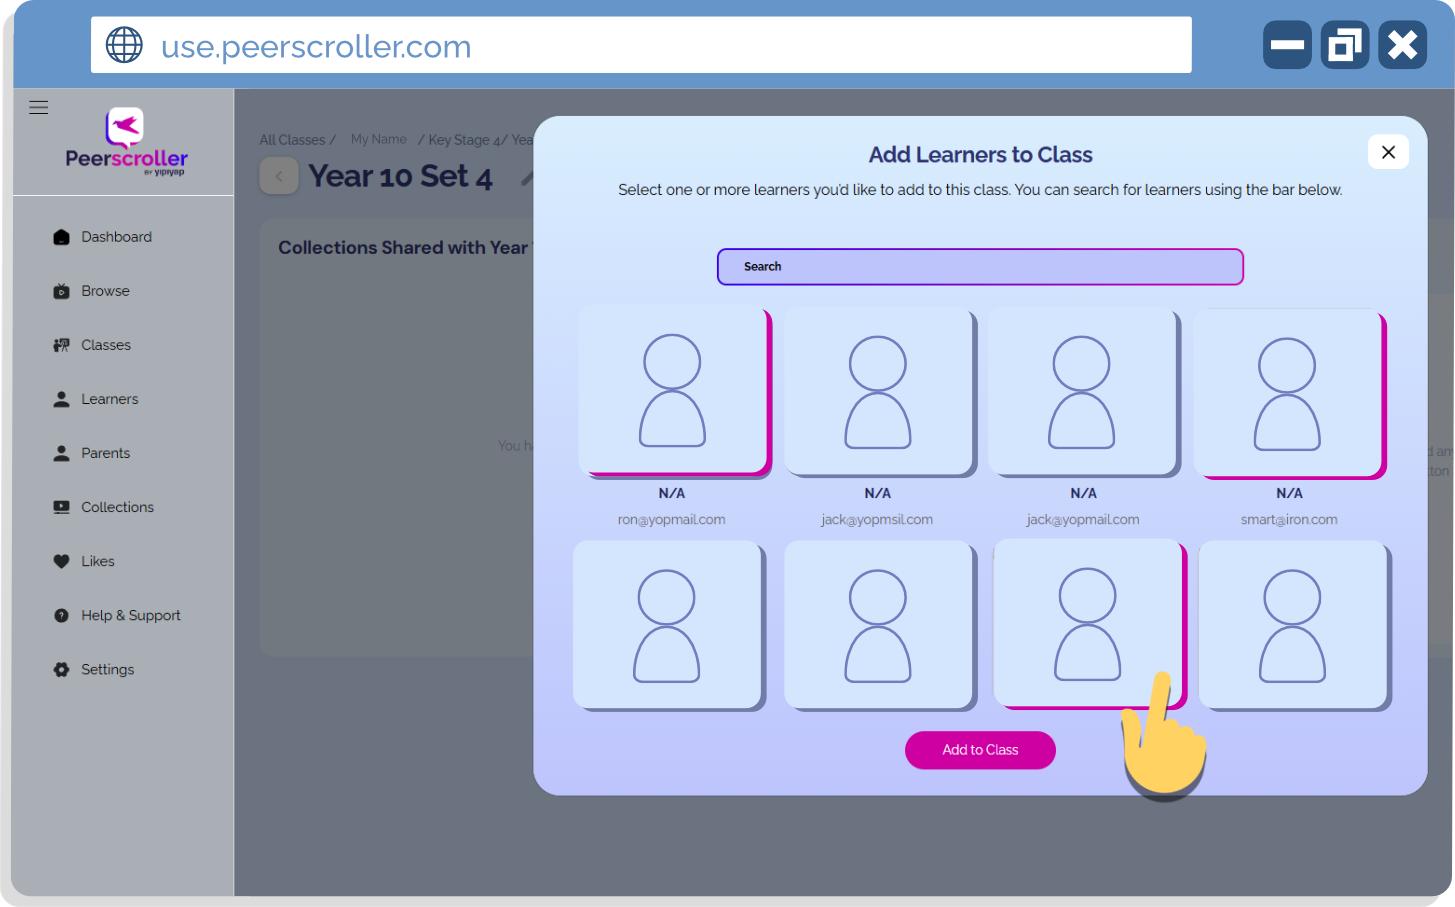
(Picture of multi-selecting learners)
5. Don’t forget to hit the ‘Add to class’ button before leaving the page!

(Picture of ‘Add to Class’ button)
Your class is now created and ready to go!
Viewing and editing classes
Need to check the learners in a class or tweak its details? This section shows you how to view and edit your existing classes in just a few clicks.
1. Head to the Classes view on the Teacher Portal to see any classes you’ve created or have been shared with you.
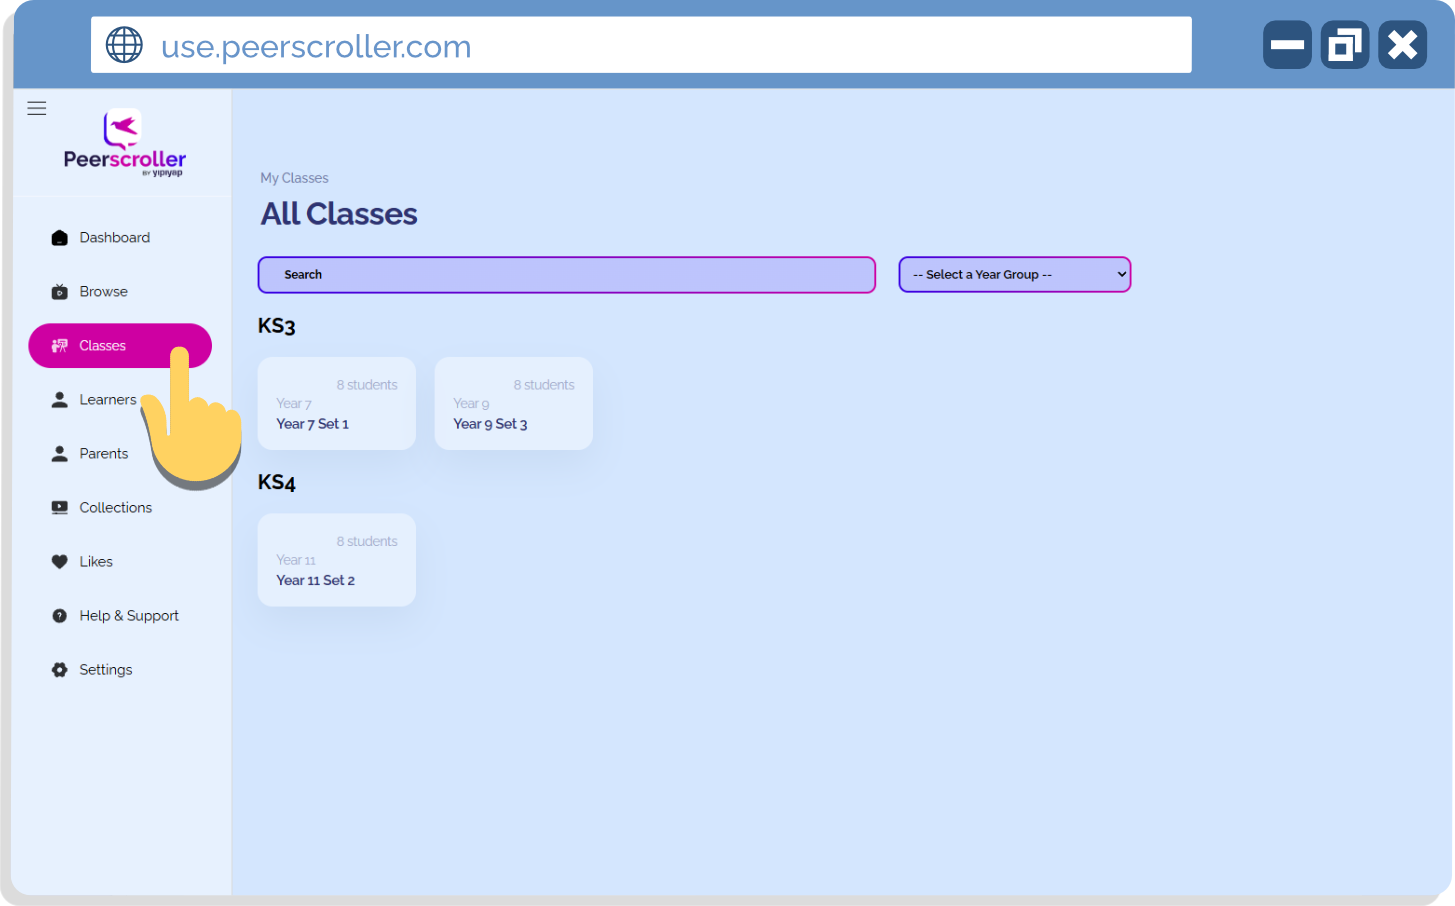
(Picture of classes dashboard)
2. To view a class in more detail and see which learners are in it or what collections you’ve shared, simply click on the class. This will pull all the information together for you.
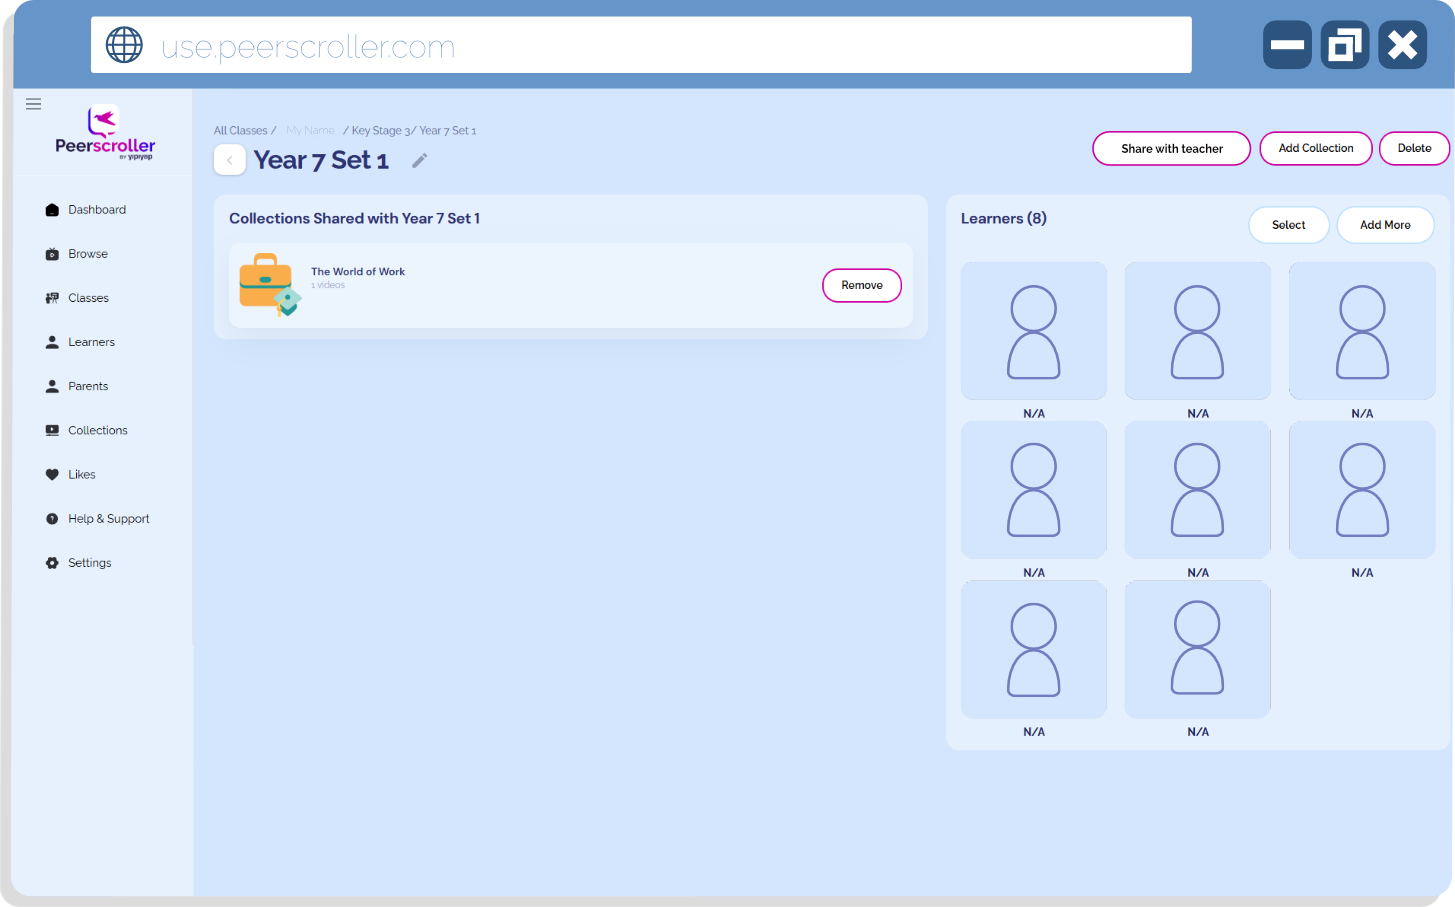
(Picture of class once expanded)
3. To edit your class (for example, to change the name or year group), click the edit (pencil) icon next to the class name. You’ll then be prompted to update the details.
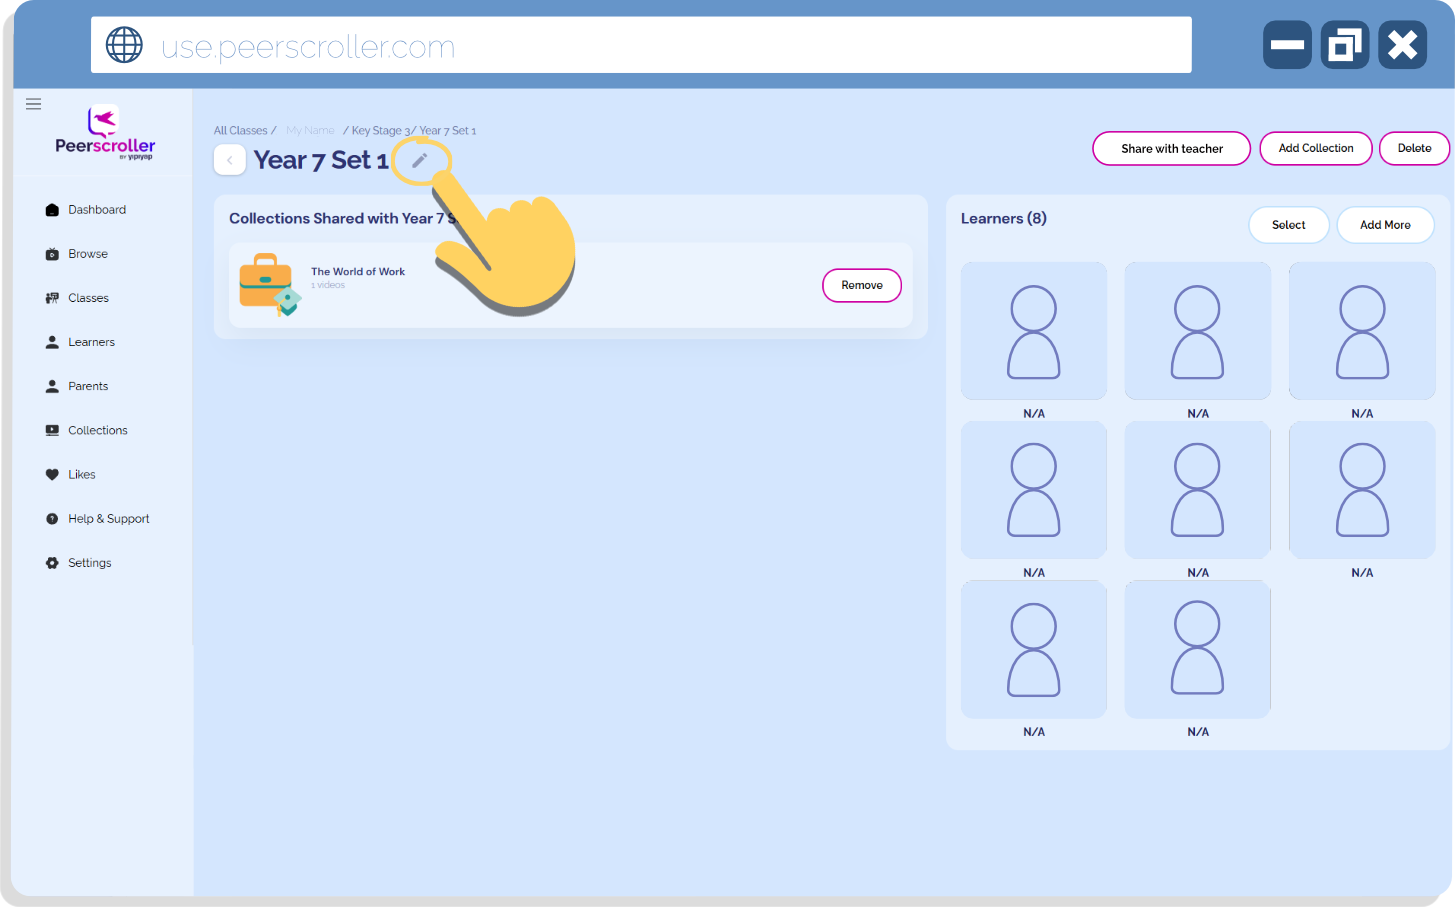
(Picture of class edit button)
4. Once you’ve made your edits, don’t forget to hit the ‘Update’ button to save your changes!
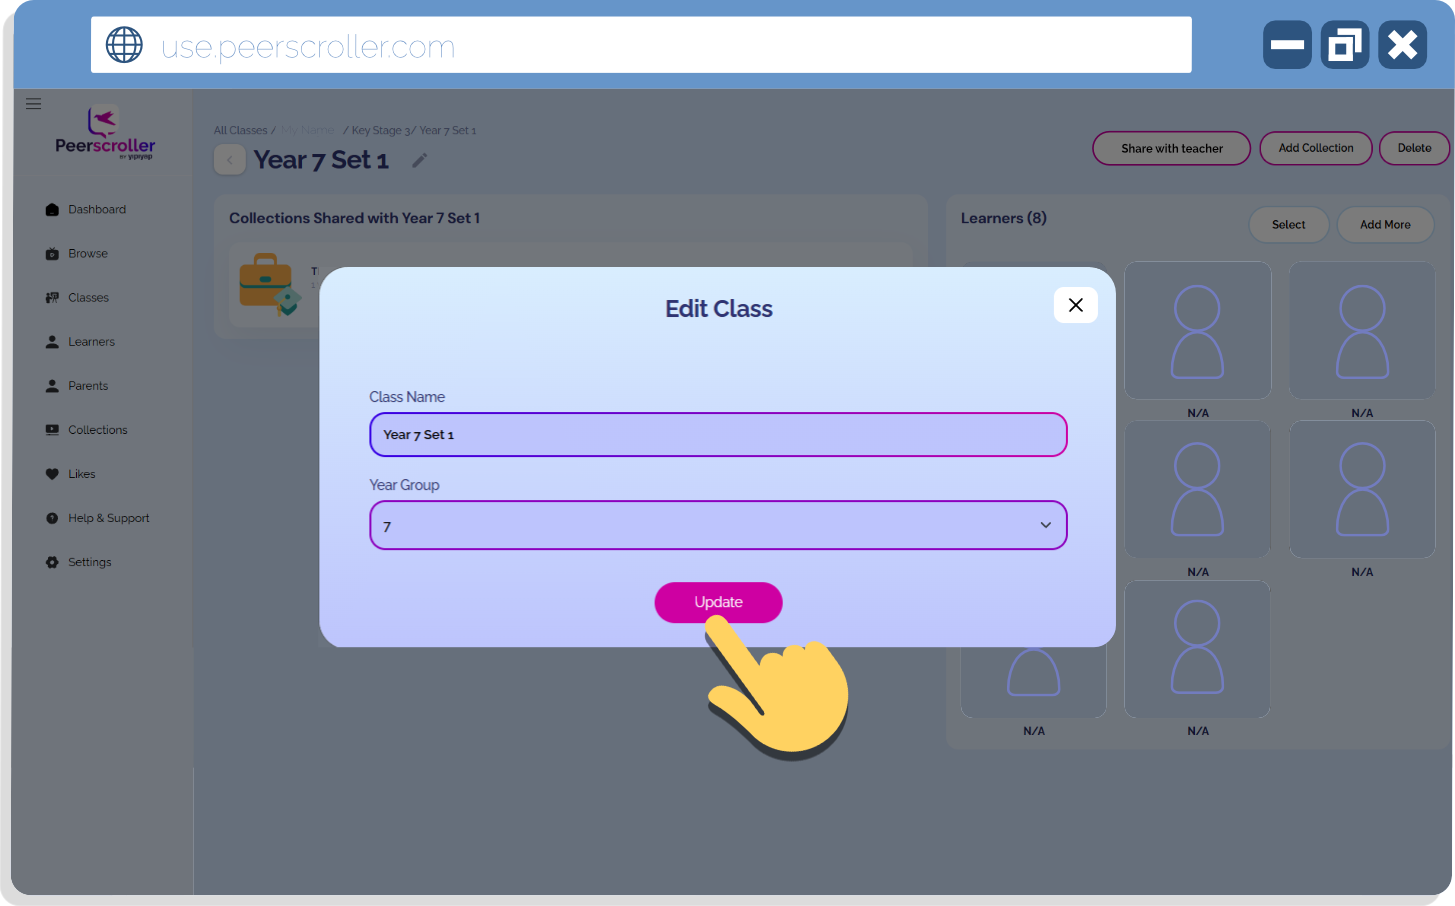
(Picture of class edit options and update button)
You’ve successfully edited your class!
Managing learners in classes
Classes can change over time, and this section covers how to easily add or remove learners without starting from scratch.
To add more learners, simply click the ‘Add more’ button in the top-right corner to get started.

(Picture of the ‘Add more’ button)
You’ll then see all the learners on your system. Simply scroll through or search for the learners you’d like to add. You can select multiple learners at once to save time.

(Picture of multi-selecting learners)
Don’t forget to hit the ‘Add to class’ button before leaving the page!
(Picture of ‘Add to Class’ button)
Removing students from a class is just as simple. In the class view, click the ‘Select’ button in the learners section.
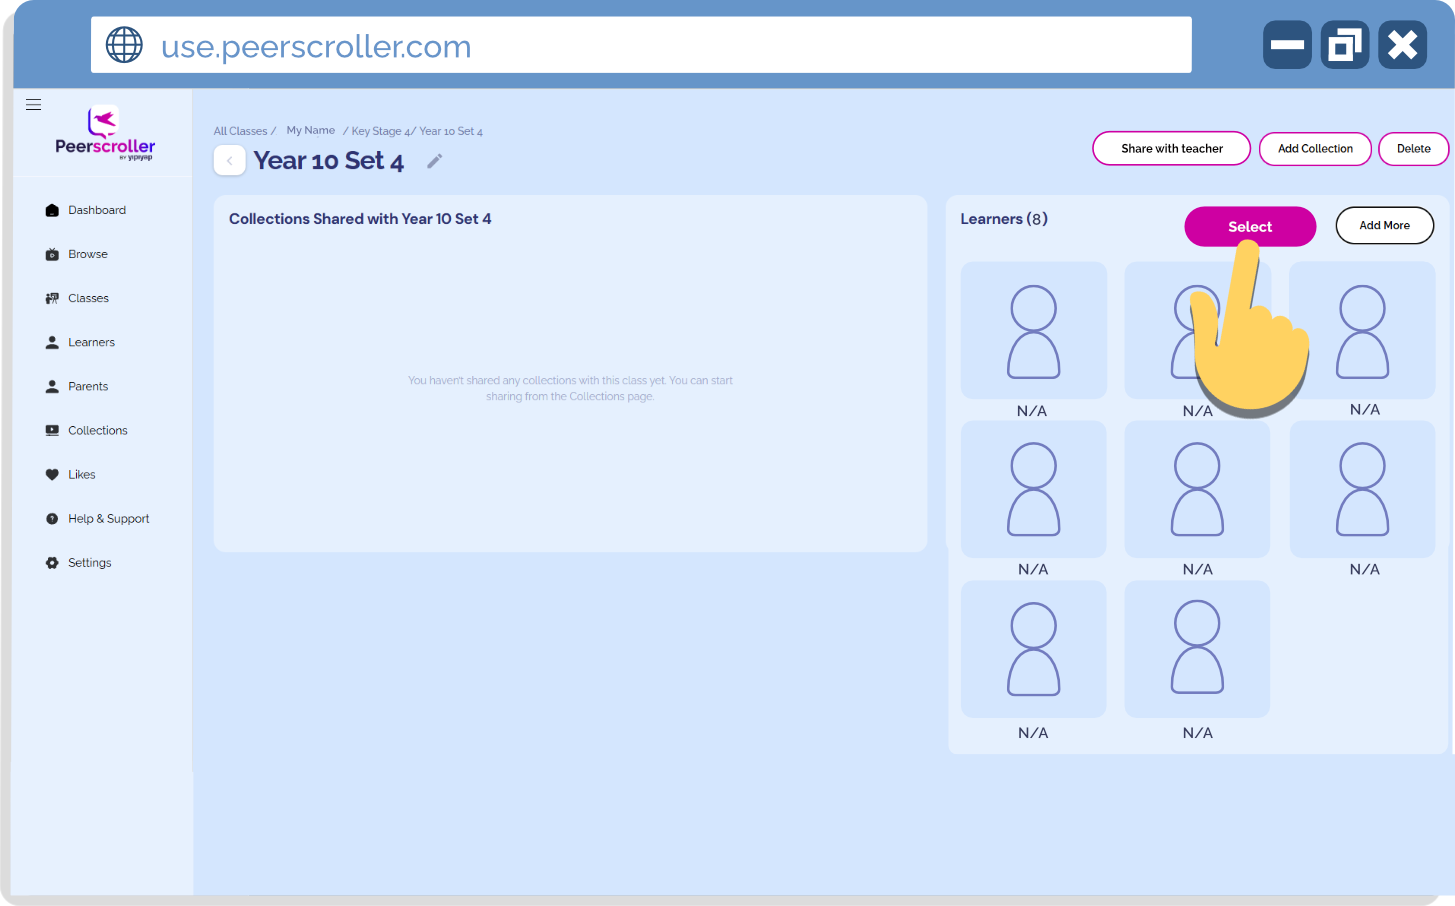
(Picture of select button)
Then click on the learners you’d like to remove - you can multi-select here too.
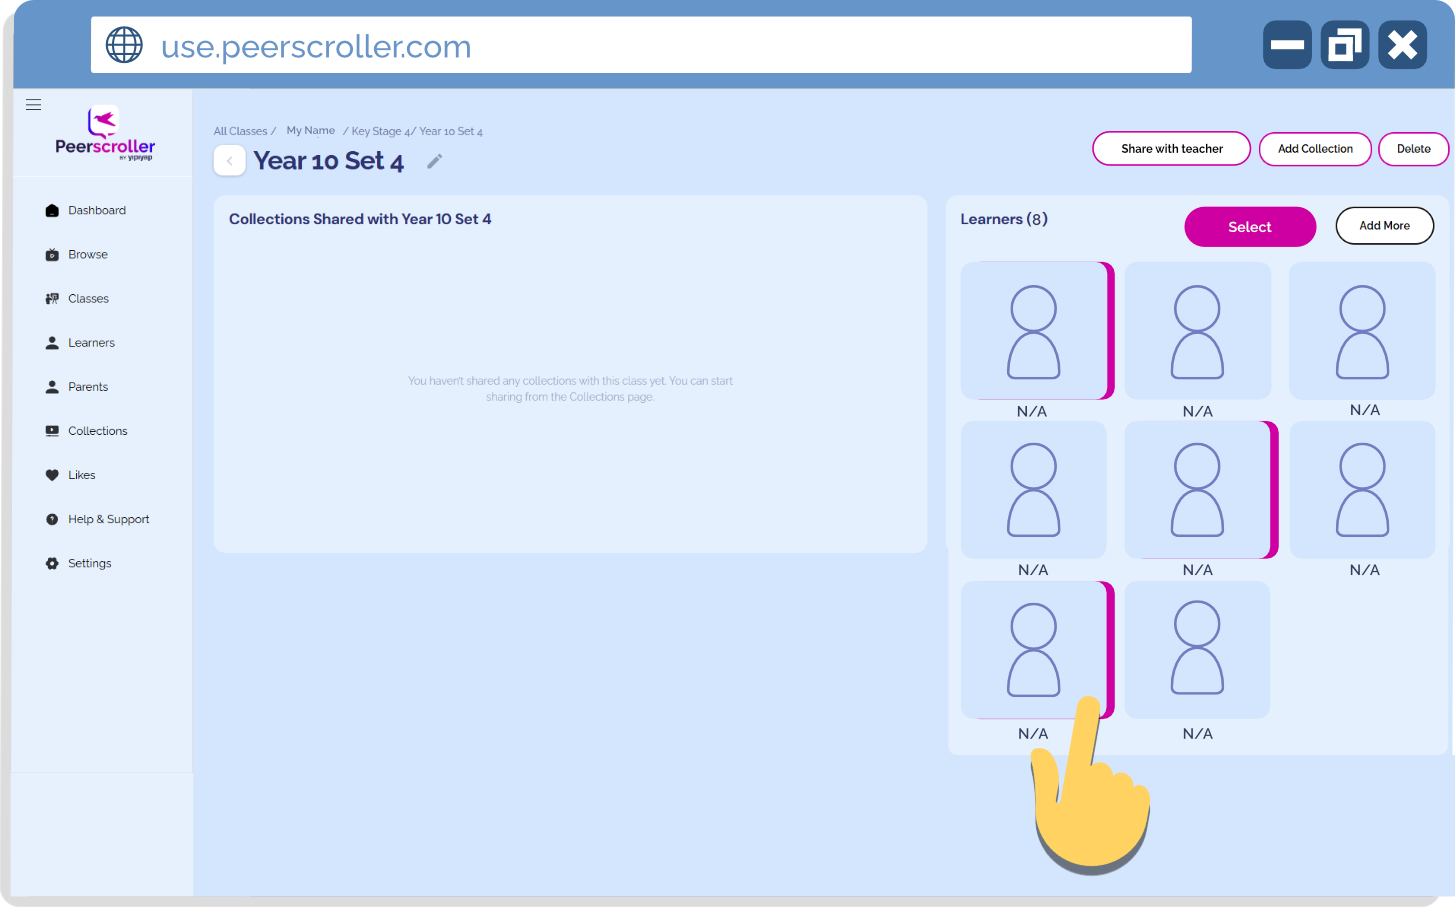
(Picture of multi-selecting learners to remove)
Finally, Once you’ve selected all the learners, click the ‘Delete’ button in the top-right corner.

(Picture of delete learners button)
Managing collections shared in classes
Having a class of students is really helpful as it means you can share a collection with a group of students rather than doing it all individually. It also helps you keep track of which collections you have shared with them. No more “I never got send it, miss!”
To share a collection with your class, open it up and click the ‘Add collection’ button in the top-right corner.
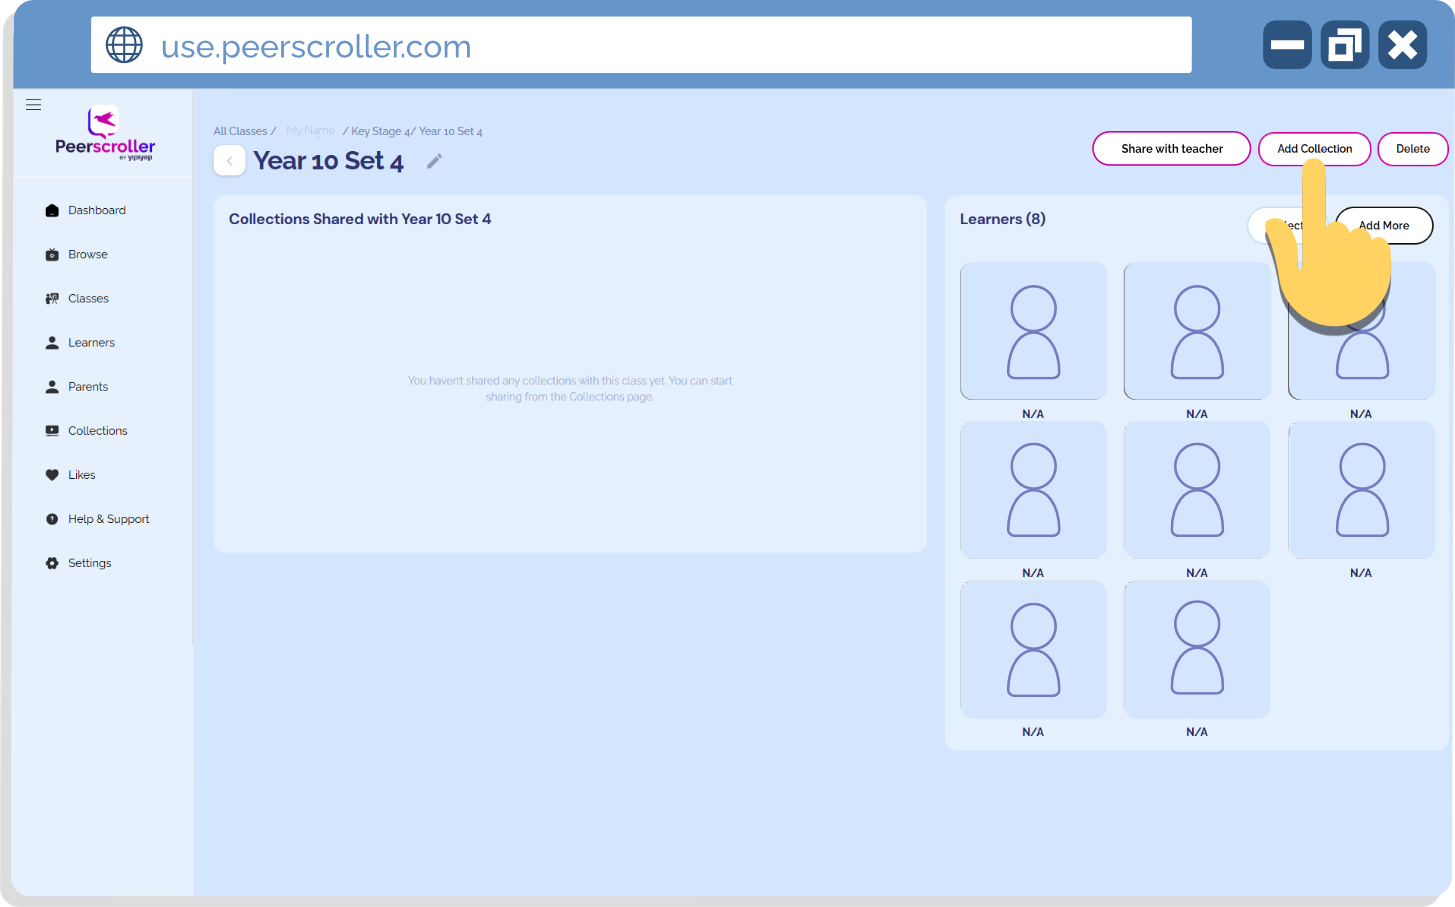
(Picture of ‘Add collection’ button)
This will open up all the collections you’ve created or that have been shared with you. Simply select the collection(s) you’d like to share and press the ‘Add’ button at the bottom. You can select multiple collections to share with your class at once, thanks to Peerscroller 2.0!
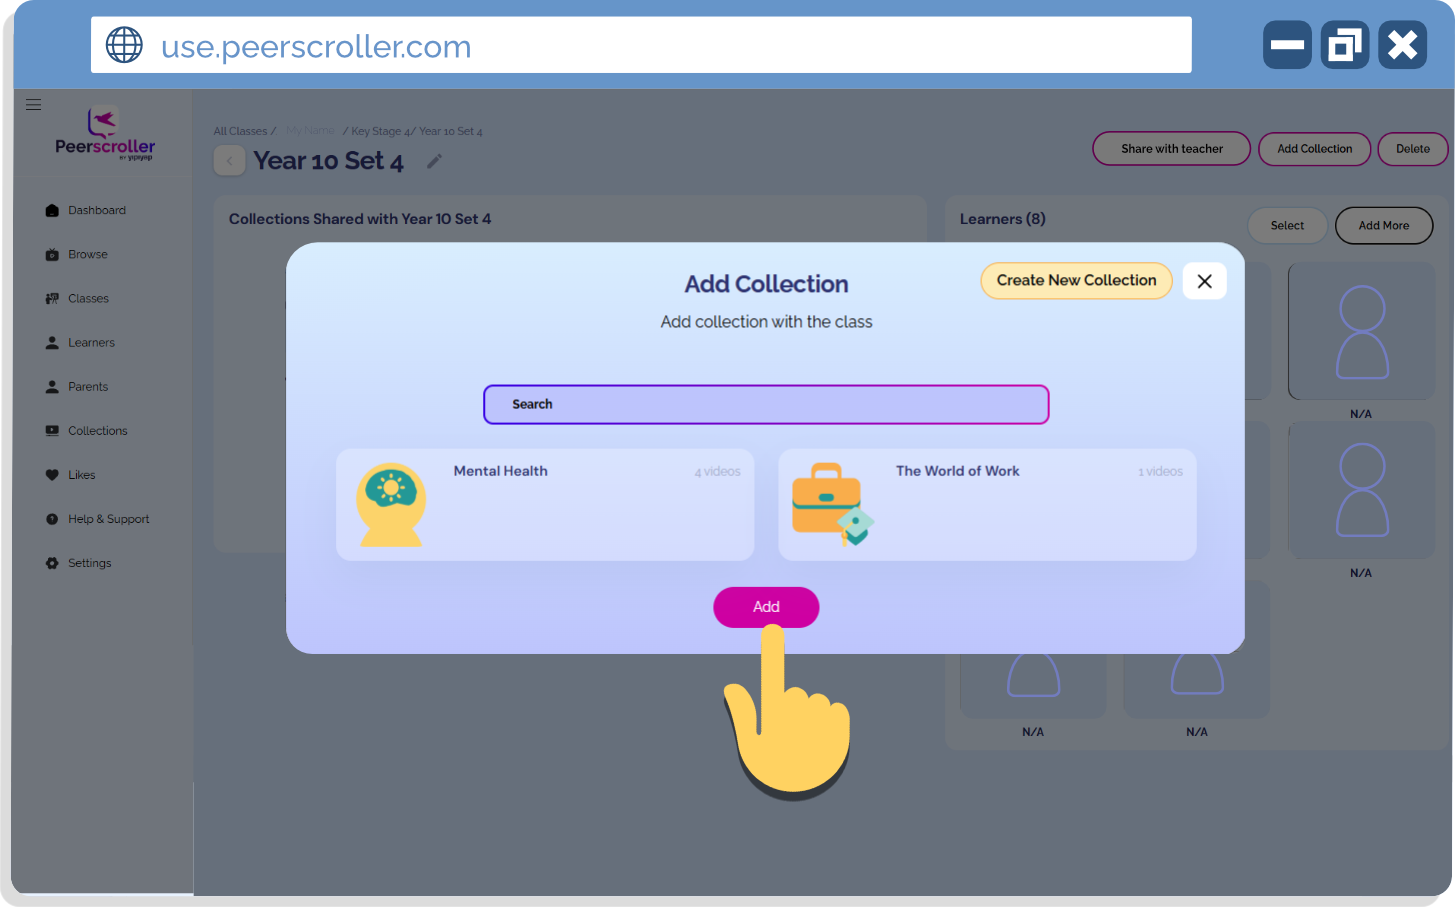
(Picture of collections you can add to the class)
Finally, if you have a collection you’d like to remove from your class, simply hit the remove button next to the class name.

(Picture of remove button)
Sharing classes with other teachers
This section shows you how to share your classes with other teachers, making collaboration simple.
To share a class with another teacher, open it up and click the ‘Share with teacher’ button in the top-right corner.

(Picture of ‘Share with teacher’ button)
This will open up all up a view of all the teachers using Peerscroller at your school. Simply select the teacher(s) you’d like to share the class with and press the ‘Share’ button at the bottom. Feel free to use the ‘Search’ function at the top to help you find the right person in no time.
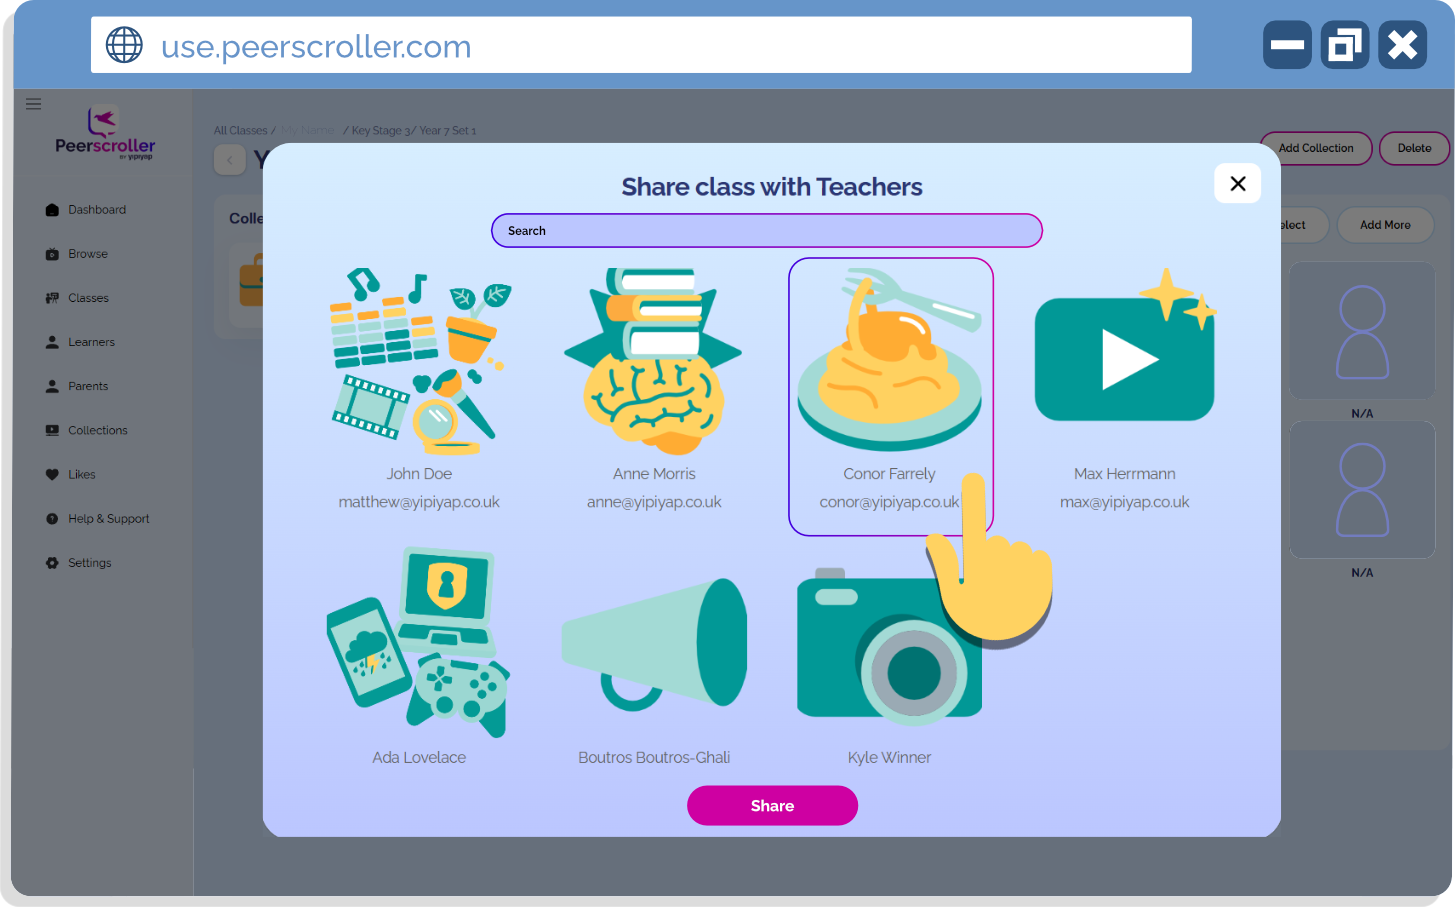
(Picture of teachers you can share your class with)
It’s as simple as that! Once your class has been shared, you’ll get a little pop up like this to reassure it’s landed OK with your colleague. Happy sharing!
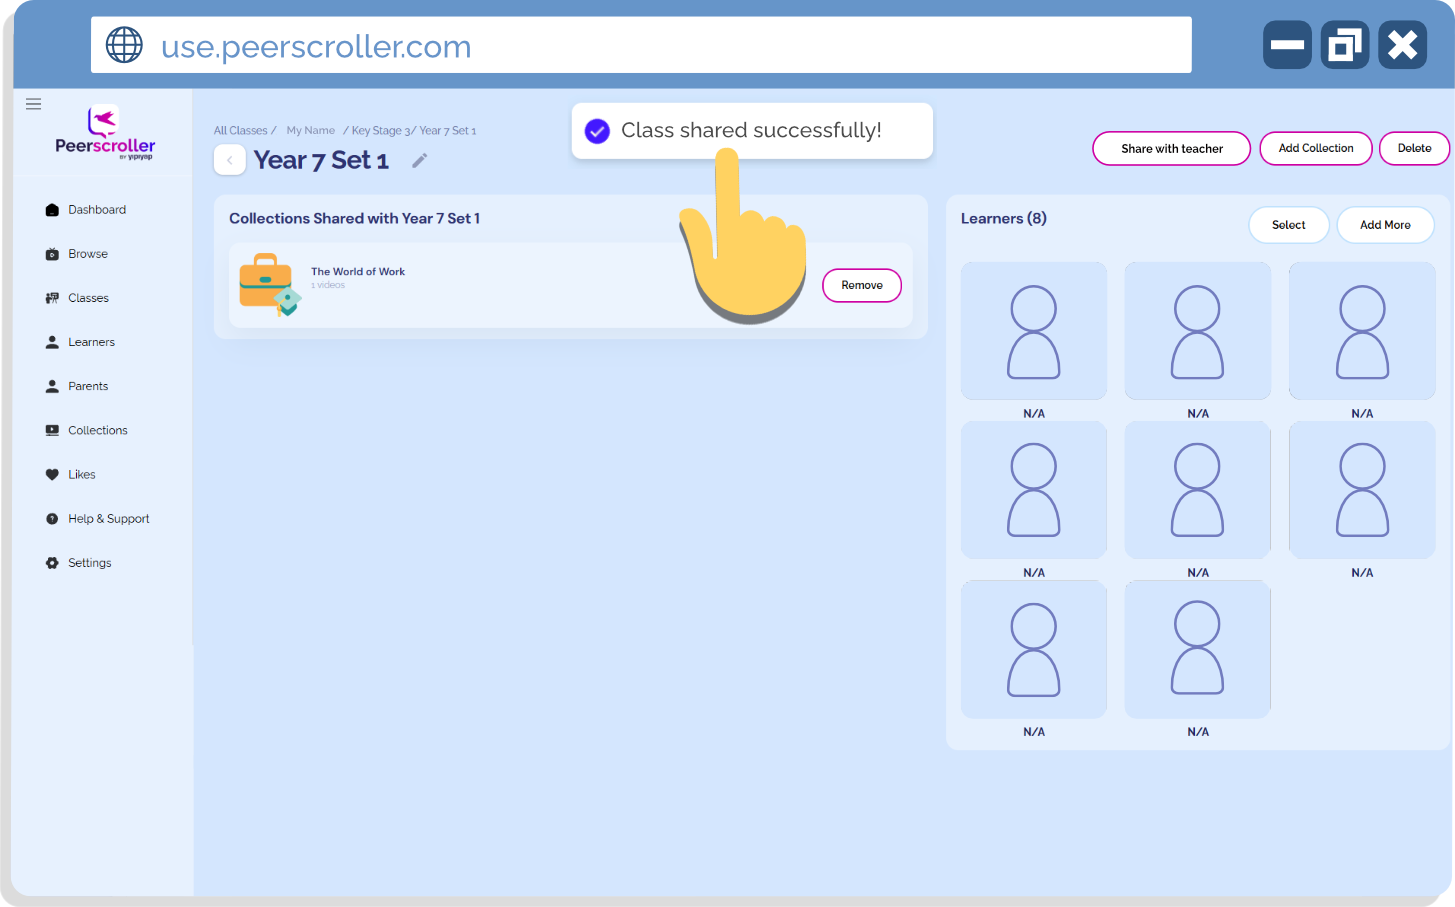
(Picture of ‘Class shared successfully’ pop-up)
What do you need support with?
If there’s a specific topic or video you’d like a guide for, get in touch with us!
We’re always happy to work with you to create a tailored guide that helps you get the most out of Peerscroller.